THE CONCIERGE CONTRACTOR
SIX STORM EMERGENCIES EVERY HOMEOWNER SHOULD KNOW HOW TO HANDLE
CONTROL THE WATER. MINIMIZE THE DAMAGE.
When heavy rain strikes, water can enter your home through the roof, ceilings, skylights, windows, doors, and drainage systems.
Sometimes the permanent repair must wait until the storm passes.
But that doesn’t always mean there’s nothing you can do.
The first objective is to protect yourself and your family. The second is to minimize additional property damage.
The Concierge Contractor’s guiding principle:
When you cannot immediately stop water from entering, determine whether you can safely contain it, collect it, or redirect it.
Never risk your safety to save building materials.
1. WATER LEAKING THROUGH YOUR CEILING
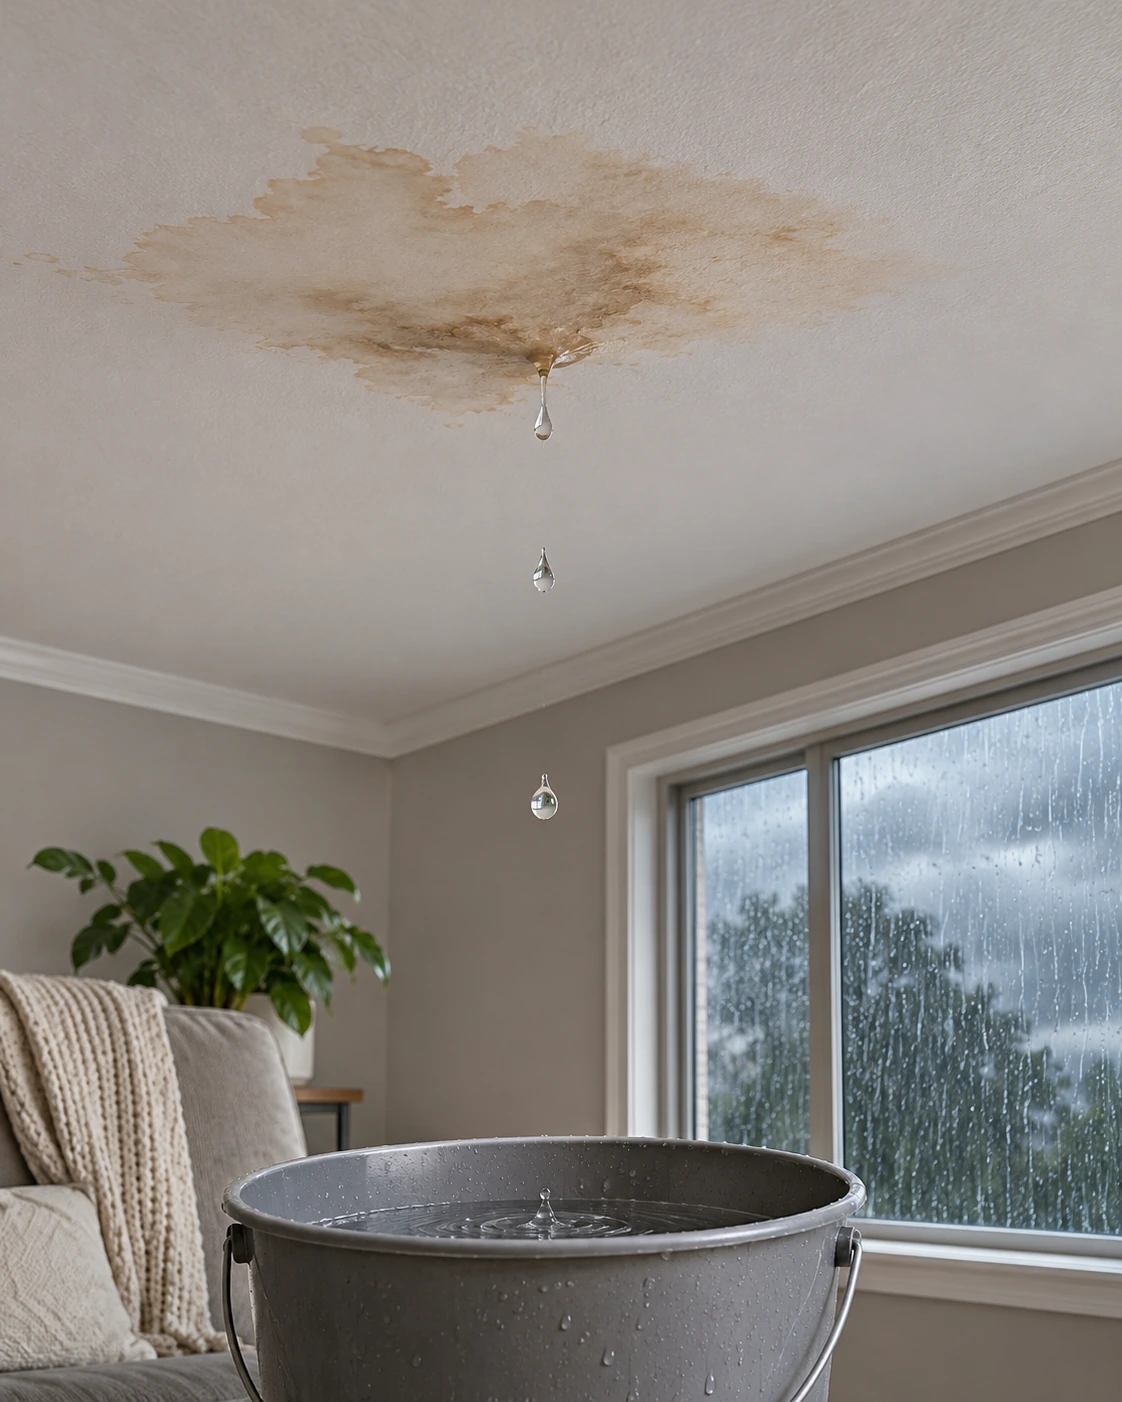
THE EMERGENCY
It’s pouring outside.
Suddenly, water starts dripping from your ceiling.
You notice a spreading stain, bubbling paint, or water collecting behind the drywall.
What should you do?
FIRST — CHECK FOR DANGER
Look for sagging drywall, bulging ceiling materials, cracking plaster, or water near electrical fixtures.
A saturated ceiling can collapse without much warning.
If the ceiling is sagging, bulging, cracking, or showing signs of instability, leave the affected room immediately.
Do not stand beneath it or attempt to puncture it.
If water is near light fixtures, outlets, or electrical equipment, stay clear.
Where the electrical panel is safely accessible from a dry location, turn off the affected circuit. If you cannot confidently identify it, seek qualified assistance.
Do not use switches, plug-in appliances, or electrical testing devices in wet or potentially energized areas.
SECOND — CONTROL THE WATER
For a minor drip beneath a stable ceiling, place a bucket or other watertight container beneath the leak when the area is electrically safe.
Move furniture, electronics, rugs, and valuables away from the affected area.
Use towels, blankets, or absorbent materials to limit water spreading across the floor.
If several small drips are occurring close together, a larger container may help collect them.
THE CONTRACTOR’S FIELD INSIGHT
Water can accumulate above drywall, particularly when wet insulation or debris restricts drainage.
As insulation absorbs water, it becomes heavier. Loose insulation and ceiling debris can also obstruct existing openings.
This can increase the amount of water retained above the ceiling.
On construction and restoration projects, trained professionals may establish controlled drainage openings to release trapped water into collection containers.
However, homeowners should not force a broom handle through a saturated ceiling or drill into concealed ceiling cavities during an active leak.
Hidden wiring, plumbing, falling materials, and accumulated water can create serious hazards.
Wood and plaster ceilings introduce additional concerns because of their weight, construction, and possible concealed services.
If water appears trapped above the ceiling, isolate the room and contact a qualified water-damage restoration professional.
COLLECTION CONTAINERS
Buckets, kitchen trash cans, and clean exterior trash containers can be useful for collecting water.
A wheeled container may appear convenient, but remember:
Water weighs approximately 8.34 pounds per gallon. Ten gallons weigh approximately 83 pounds. Exterior trash containers may have cracks or holes. Moving a heavy container across wet flooring can cause slips or spills.
Use smaller containers when practical and empty them before they become difficult to handle.
AFTER THE STORM
Arrange for a roofing inspection and assessment of the affected ceiling and insulation.
Wet insulation and damaged ceiling materials may require removal and replacement.
Remember that the location of an interior drip does not necessarily identify the location of the roof leak.
Water can travel along framing and other building components before appearing inside.
CONCIERGE CONTRACTOR TIP:
A spreading ceiling stain is a warning sign. A sagging or bulging ceiling is a reason to leave the room.
2. STANDING WATER THREATENING TO ENTER YOUR HOME
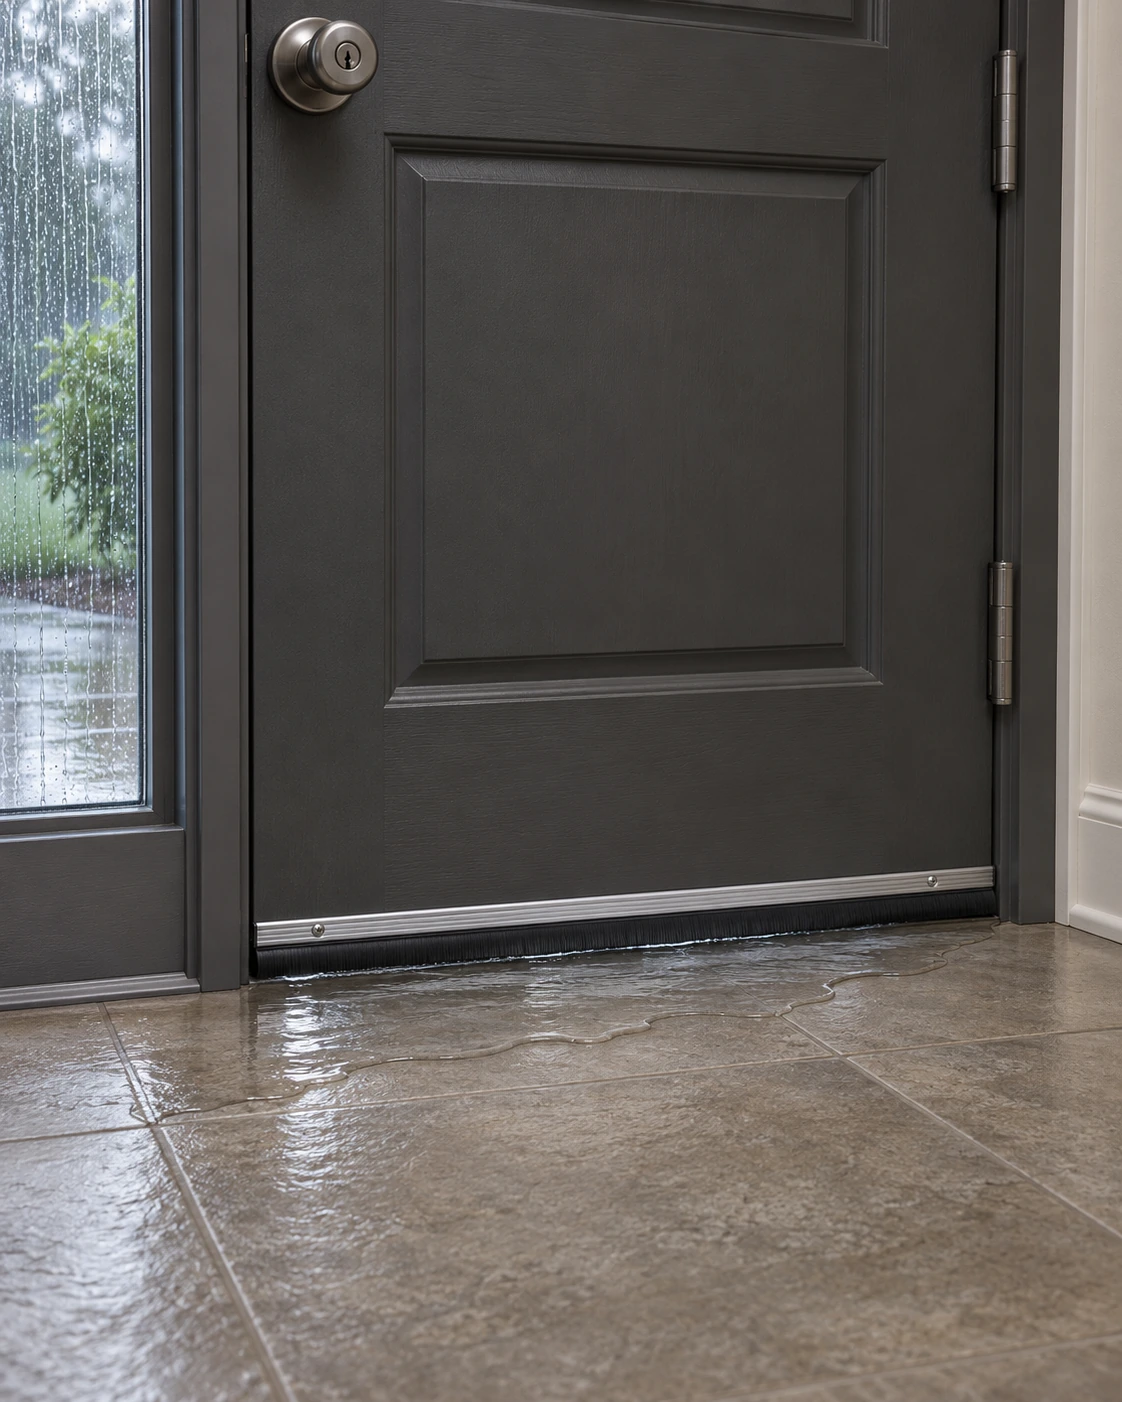
THE EMERGENCY
Rainwater is collecting outside your patio door, garage, walkway, or another low point.
The water level is rising.
It’s getting closer to entering the house.
FIRST — EVALUATE THE CONDITIONS
Determine whether the water is shallow and stationary or rising rapidly.
If water is moving, rising quickly, or threatening electrical systems, do not enter it.
Follow local emergency instructions when flooding threatens the property.
SECOND — CREATE A TEMPORARY BARRIER
When conditions are safe, use available materials to slow the spread of shallow water.
Depending on the location, these may include:
Towels and blankets. Old clothing and sheets. Absorbent flood barriers. Sandbags or suitable temporary water-diversion products.
Your objective is to keep water from spreading into additional rooms.
Place barriers where they will not block emergency exits or create a dangerous buildup of water pressure.
THE CONTRACTOR’S FIELD INSIGHT — THE GARDEN HOSE
A garden hose can sometimes function as a temporary siphon for shallow, relatively clean, stationary water.
For a siphon to work, the hose must be filled with water and its discharge end must be lower than the source water level.
The discharge location must remain open and safe.
A hose does not automatically begin siphoning simply because it is laid downhill.
Never start a siphon by sucking on the hose with your mouth. Stormwater can contain sewage, chemicals, and other contaminants.
A properly rated manual transfer pump may be a safer alternative for suitable clean-water situations.
Do not discharge water where it could flow back toward the home, undermine foundations, affect neighboring properties, or create a slipping hazard.
A small garden hose also has limited capacity and may be ineffective against substantial or rapidly accumulating floodwater.
THIRD — CONTROL THE SPREAD
If water has already entered a room, use suitable absorbent materials to limit its spread, provided the water is not suspected sewage or otherwise contaminated.
Move belongings to dry locations.
If electrical hazards are possible, do not enter the affected area.
AFTER THE STORM
Investigate the reason water accumulated.
Possible causes include inadequate grading, blocked drains, insufficient drainage capacity, or runoff being directed toward the building.
CONCIERGE CONTRACTOR TIP:
The goal is not to fight a flood. It’s to safely reduce minor water intrusion until conditions improve.
3. CLOGGED GUTTERS DURING HEAVY RAIN
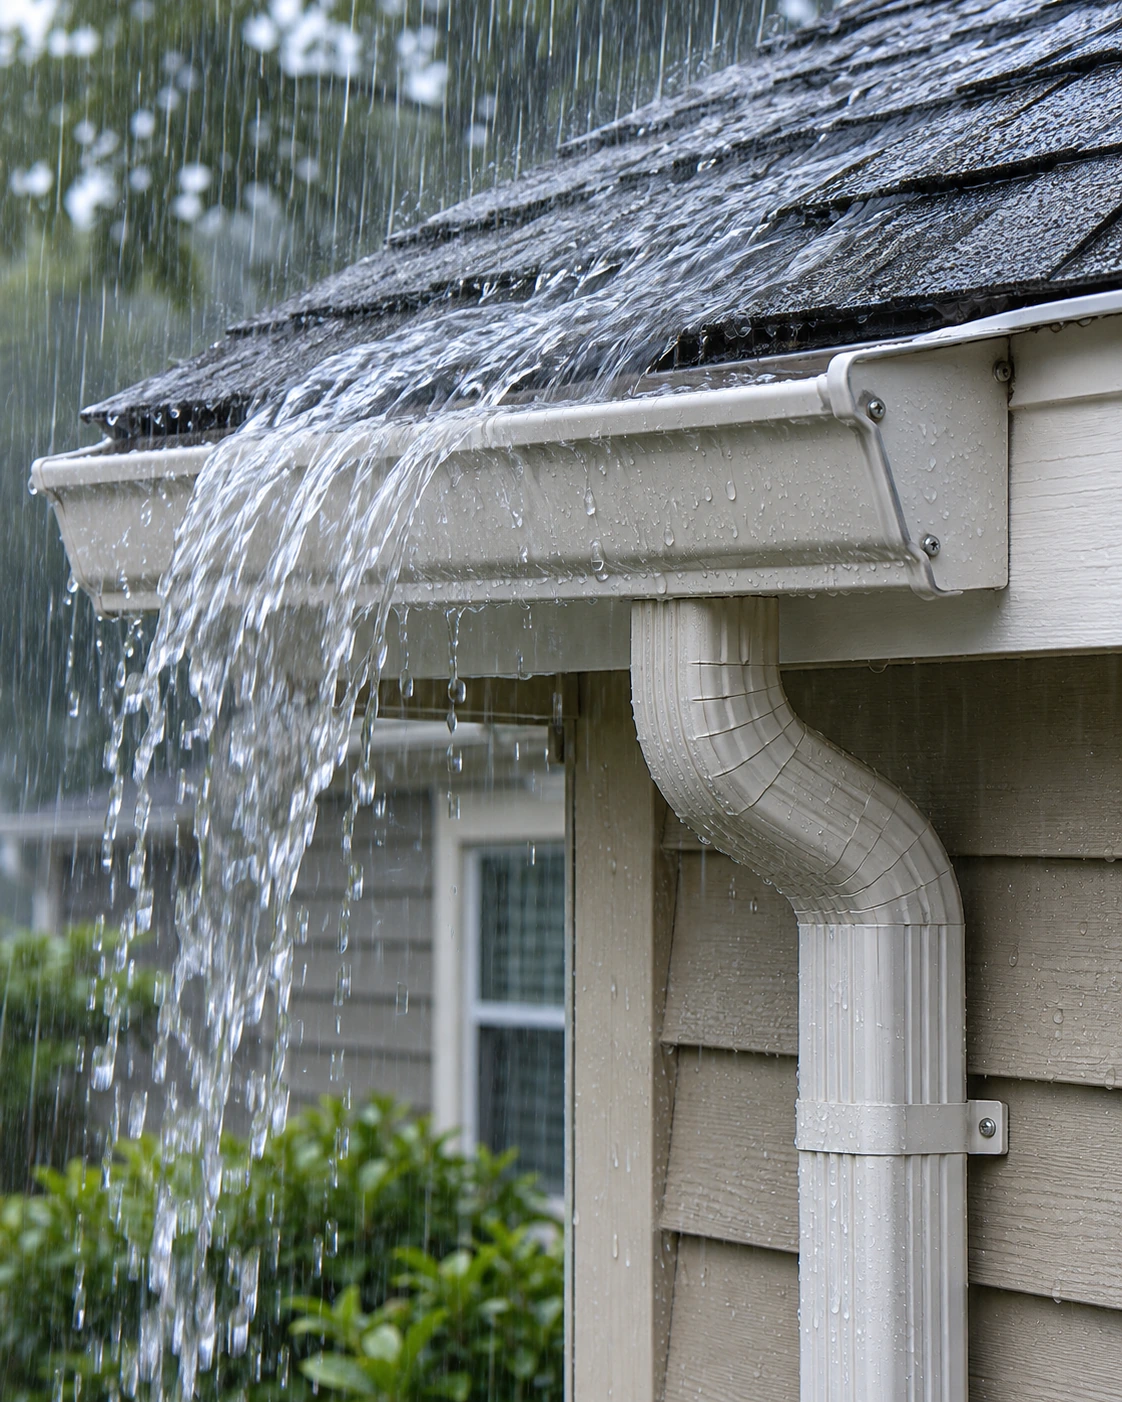
THE EMERGENCY
Rainwater is pouring over the edge of your gutters.
Water runs down the exterior wall, saturates the fascia, or collects near the house.
You suspect a clogged downspout.
FIRST — STAY OFF THE LADDER
Do not climb onto a wet roof or ladder during heavy rain.
Wet roofing materials, slippery ladder rungs, wind, and reduced visibility create serious fall hazards.
Cold and wet conditions can also reduce grip and physical performance.
SECOND — IDENTIFY WHERE WATER IS OVERFLOWING
From a safe location, observe whether the water is overflowing along the gutter or near a downspout connection.
Common causes include leaves, roofing debris, clogged elbows, blocked downspouts, or inadequate drainage capacity.
THE CONTRACTOR’S FIELD INSIGHT
Downspouts frequently contain elbows that connect the gutter outlet to the vertical piping.
Debris can accumulate in these changes of direction.
A flexible wire or drain-cleaning tool may help clear certain accessible obstructions after conditions are safe.
However, inserting a metal coat hanger into an overhead gutter or downspout during a thunderstorm is not recommended. Sharp metal can damage components, and overhead work introduces additional hazards.
Similarly, striking or breaking apart an overhead downspout during heavy rain can release uncontrolled water and falling debris.
If a downspout elbow must be disconnected or replaced, that work should be performed under safe conditions.
THIRD — REDIRECT GROUND-LEVEL RUNOFF
If water is collecting near the foundation, shallow temporary diversion measures may help when conditions are safe.
Depending on the property, these might include sandbags, soil, or appropriate temporary barriers.
Direct water toward a suitable drainage area without sending it onto neighboring property or causing erosion.
Do not block public drainage facilities or redirect water into hazardous areas.
AFTER THE STORM — PREVENTION
Inspect and clean gutters before the rainy season.
In climates with prolonged rainy seasons, inspect them again during a safe, dry interval.
Pay particular attention to downspout elbows, gutter outlets, roof valleys, and areas beneath trees.
CONCIERGE CONTRACTOR TIP:
A clogged gutter isn’t just a gutter problem. Water overflowing against the building can expose weaknesses in fascia, siding, flashing, and wall waterproofing.
4. WATER LEAKING AROUND A SKYLIGHT
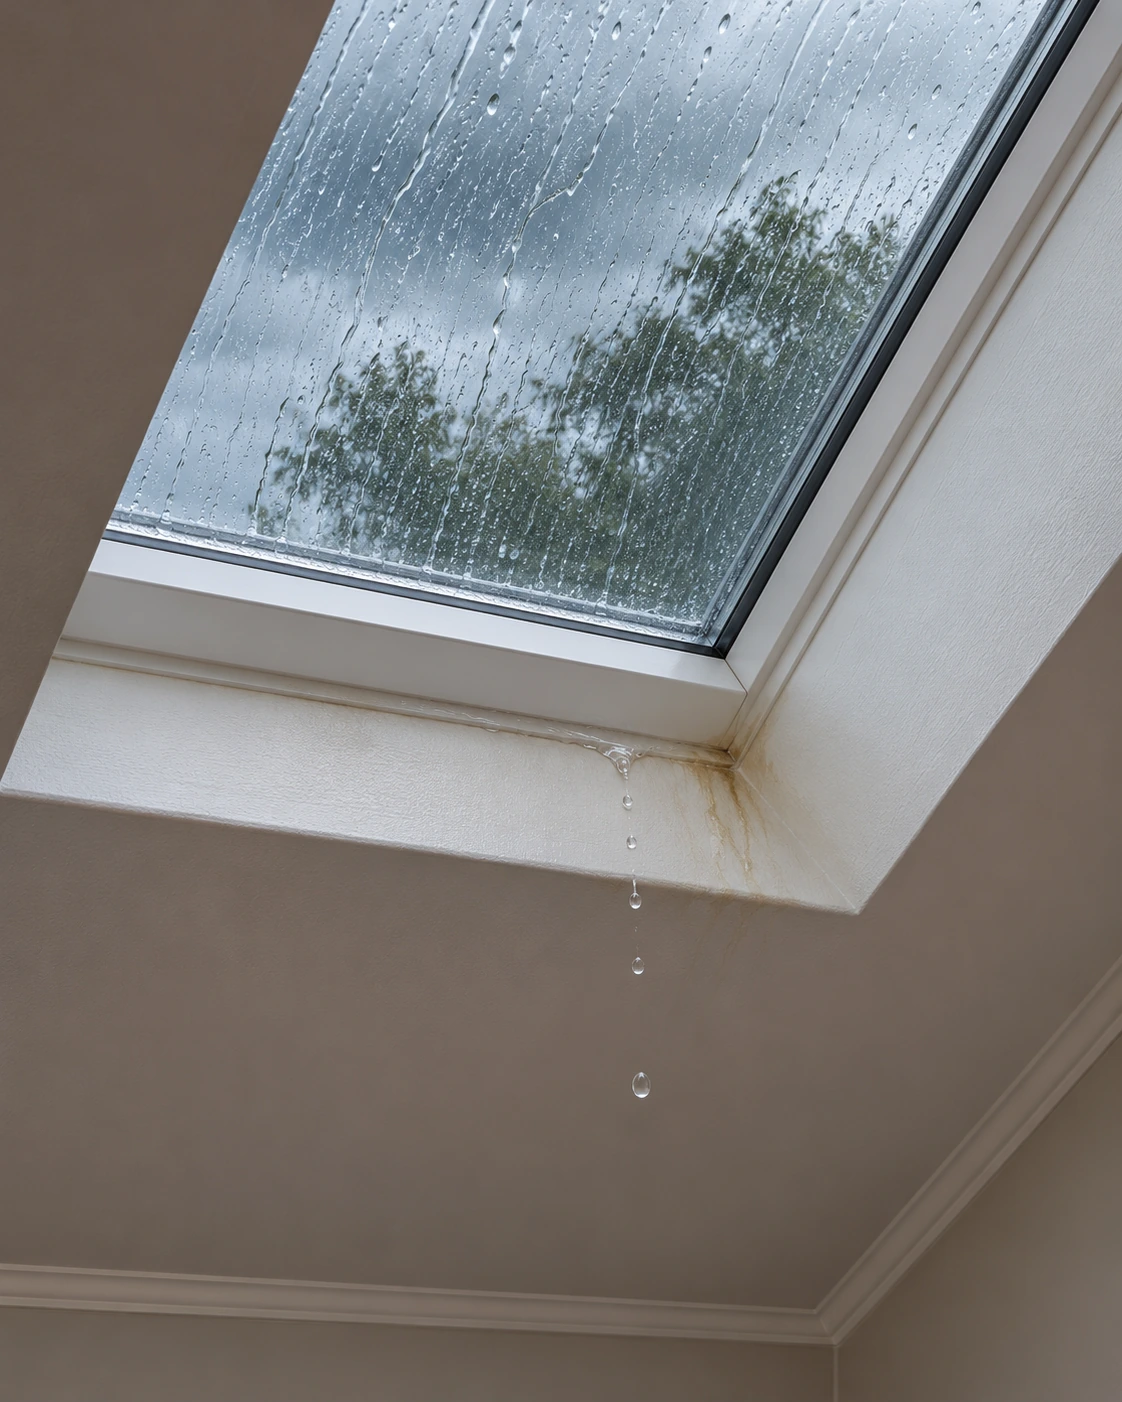
THE EMERGENCY
Rainwater starts dripping around a skylight.
It may run down the skylight shaft, stain the drywall, or drip onto flooring and furniture.
FIRST — STAY INSIDE
Do not climb onto the roof during the storm.
Skylights are often surrounded by sloped roofing, flashing, and other surfaces that become extremely slippery when wet.
SECOND — CATCH AND CONTAIN THE WATER
Move belongings away from the leak.
Position buckets or other suitable containers beneath minor drips when the ceiling is stable and the area is electrically safe.
Use towels, blankets, or absorbent materials to reduce spreading.
If multiple drips are close together, a larger watertight container may be useful.
THE CONTRACTOR’S FIELD INSIGHT — CONTAINER SELECTION
A wheeled exterior trash container can hold substantial water, but that does not automatically make it the safest choice.
Check for cracks and holes before use.
Remember that a partially filled large container can become extremely heavy.
For many homeowners, smaller buckets or kitchen trash cans will be easier to handle.
Do not attempt to lift or carry a heavy container across slippery flooring.
DOCUMENT THE LEAK LOCATION
One challenge with skylight leaks is identifying where the water appeared after everything dries.
Photograph the dripping locations and surrounding finishes.
If possible, make a simple sketch showing where the water appeared relative to the skylight.
Your field recommendation of using stick pins to mark drip locations can help during professional investigation, but homeowners should not climb ladders beneath wet or potentially unstable ceiling materials.
Photographs are the safer initial method.
UNDERSTAND HOW WATER TRAVELS
A leak appearing at one side of a skylight may originate somewhere else.
Water can travel beneath roofing materials, along framing, or around flashing before becoming visible.
AFTER THE STORM
Have the skylight assembly and surrounding roof inspected.
Potential causes include deteriorated flashing, failed seals, damaged roofing, or improper installation.
Do not assume applying caulk around the visible drip location will correct the actual problem.
CONCIERGE CONTRACTOR TIP:
The location where water appears inside is not necessarily where it entered the roof.
5. LEAKING WINDOWS AND PATIO DOORS
THE EMERGENCY
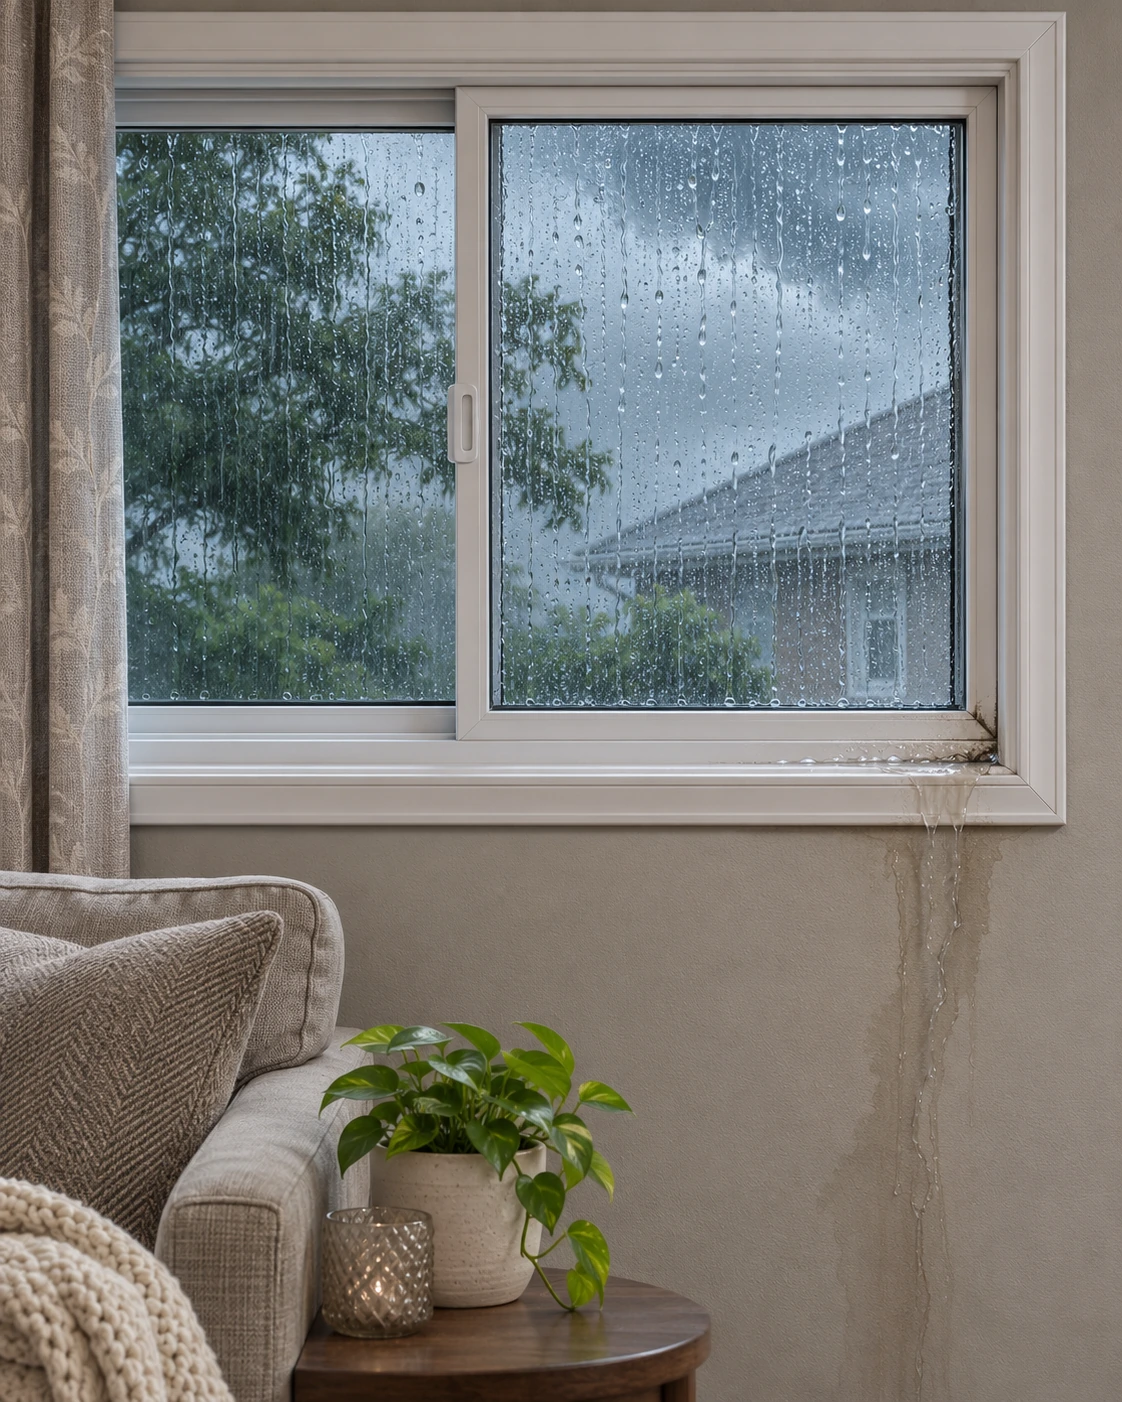
Water collects on a windowsill, enters beneath a sliding patio door, or runs down the interior wall.
FIRST — CONTAIN THE WATER
Move furniture, rugs, electronics, and other belongings away from the affected area.
Use towels, blankets, or suitable absorbent materials to limit the spread of minor clean-water intrusion.
Place containers beneath concentrated drips when appropriate.
SECOND — CONSIDER TEMPORARY INTERIOR PROTECTION
If water is entering through an accessible operable joint, temporary tape may reduce minor leakage.
Duct tape can sometimes serve as a short-term measure.
However, it must not obstruct emergency exits, cover designed drainage openings, or trap water within the window assembly.
THE CONTRACTOR’S FIELD INSIGHT — PLASTIC WATER DIVERSION
For small, localized drips, plastic sheeting may help direct water into a container.
A clean kitchen trash bag can be cut open to create a larger sheet.
Where a suitable dry surface is available, the plastic may be temporarily secured to channel minor dripping water toward a bucket.
Do not attach materials to wet electrical equipment, unstable finishes, or surfaces where trapped water could worsen damage.
This is temporary containment—not waterproofing.
WHY WINDOWS LEAK
A leaking window doesn’t necessarily mean the glass is defective.
Potential causes include:
Deteriorated frame seals. Failed perimeter waterproofing. Cracks in window components. Improperly sealed accessory penetrations. Damaged flashing. Failures in surrounding stucco or wall assemblies. Blocked or improperly functioning drainage paths.
AFTER THE STORM
Identify the actual source before applying sealant.
Some window systems permit removal of operable panels for maintenance, but procedures vary by manufacturer.
Improper disassembly or sealing can damage the assembly or interfere with designed drainage.
Check manufacturer warranty coverage before authorizing repairs.
CONCIERGE CONTRACTOR TIP:
Don’t assume a leaking window needs replacement. The problem may be in the surrounding installation rather than the window itself.
6. BACKED-UP DRAINS, SHOWERS, TOILETS, AND PLUMBING FAILURES
THE EMERGENCY
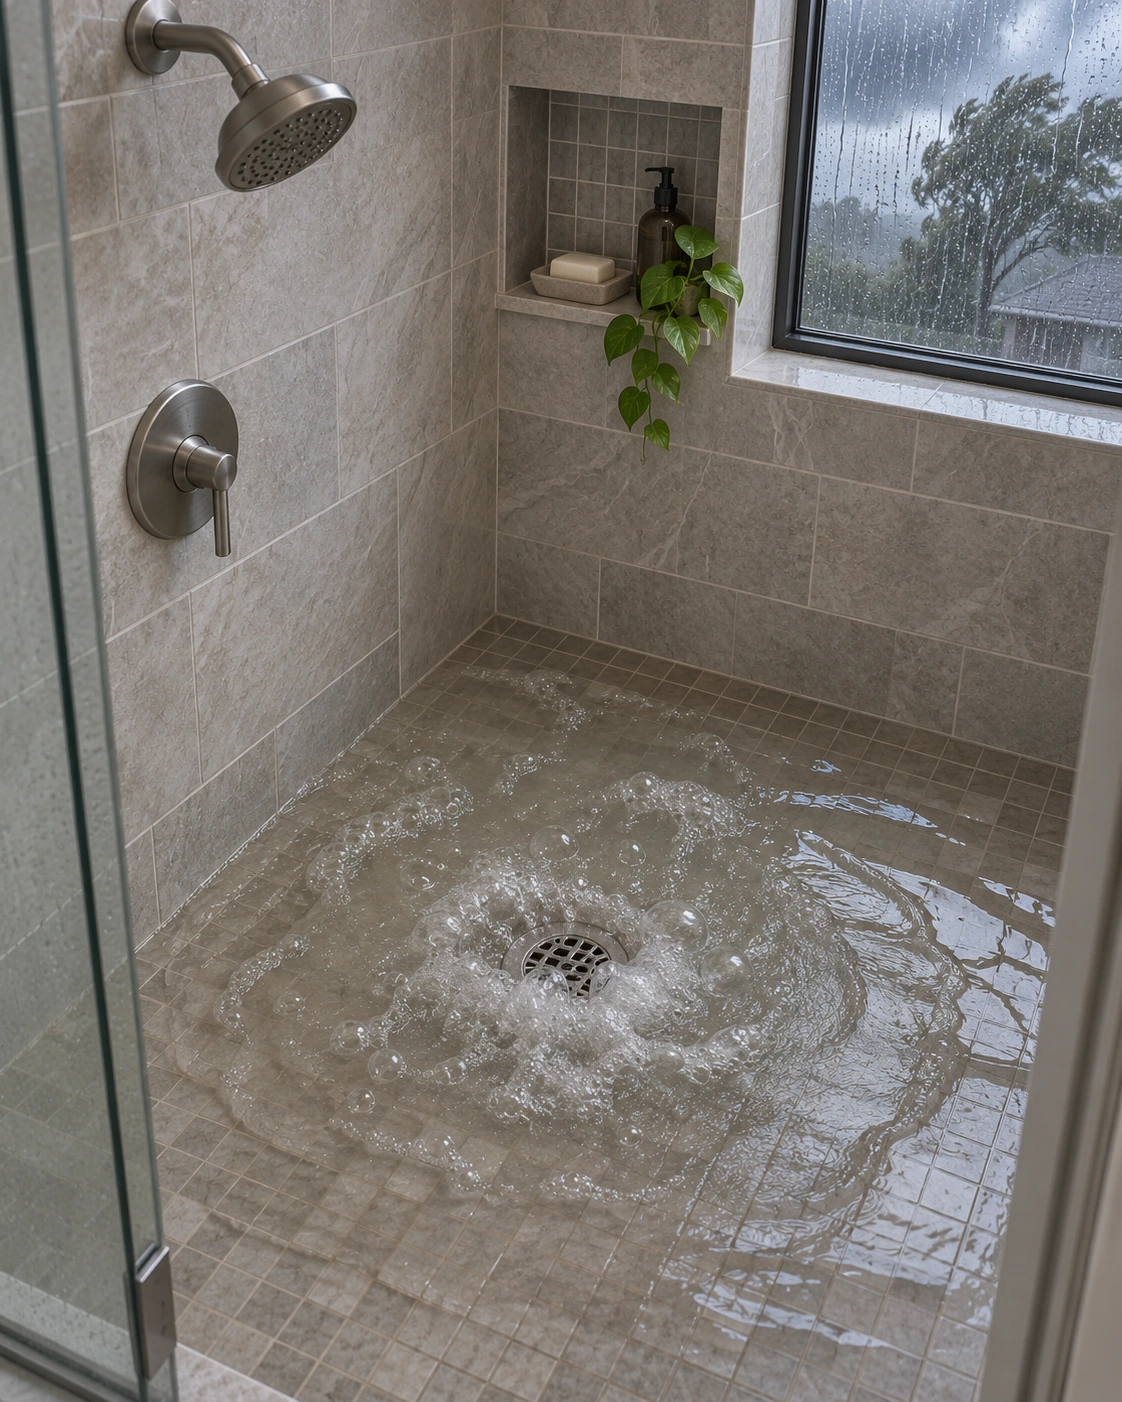
Water begins rising through a floor drain, shower, or toilet.
Alternatively, a toilet won’t stop running, a supply connection starts leaking, or water appears around the base of a fixture.
These situations require different responses.
A. SEWER OR DRAIN BACKUP
FIRST — STOP ADDING WATER
Stop using the affected plumbing fixtures.
Do not flush toilets, run showers, operate connected sinks, or use appliances that discharge into the affected drainage system until the cause is identified.
If water is backing up from a shared sewer system, shutting off an individual fixture’s supply valve may not stop the backup.
SECOND — KEEP PEOPLE AWAY
Treat backed-up wastewater as potentially contaminated.
Keep children and pets away.
Do not use bedding, clothing, or household wet/dry vacuums to collect suspected sewage.
Avoid direct contact and arrange professional assistance.
THE CONTRACTOR’S FIELD INSIGHT — CLEANOUTS
Drainage systems often include cleanouts that provide access for inspection and clearing.
A blockage may need to be addressed through an appropriate cleanout rather than directly through the affected fixture.
Improper drain-snaking techniques can damage piping.
A pressurized cleanout may also release contaminated wastewater when opened.
Homeowners unfamiliar with drain-clearing equipment should contact a qualified plumber rather than attempting to open or snake the system.
B. A TOILET THAT WON’T STOP RUNNING
A continuously running toilet is different from a sewer backup.
FIRST — SHUT OFF THE WATER
Locate the toilet’s supply shutoff valve, commonly called an angle stop.
Close it by hand if it operates normally.
If the valve is stuck, leaking, or damaged, do not force it.
Use another safely accessible upstream shutoff and arrange repair.
SECOND — IDENTIFY THE FAILED COMPONENT
Possible causes include:
A leaking flapper or flush-valve seal. A malfunctioning fill valve. An incorrect tank water level. A defective flush-valve assembly.
Your preferred professional approach is to replace an appropriate complete assembly when justified rather than repeatedly rebuilding deteriorated components.
However, the replacement must match the toilet.
TOTO, Kohler, American Standard, and other manufacturers use different designs.
Identify the manufacturer and model before purchasing parts.
C. WATER LEAKING AROUND A TOILET
Water appearing on the floor can originate from several locations.
Possible sources include the supply connector, tank connections, tank-to-bowl gasket, or toilet base.
Two-piece toilets have a gasket between the tank and bowl that may deteriorate or become displaced.
A leaking toilet base may require removal and inspection of the flange, mounting hardware, and sealing system.
When a toilet is removed, appropriate new sealing components and mounting hardware should be installed according to the fixture and flange requirements.
A leak at the base should not automatically be diagnosed as a failed wax ring without further inspection.
D. THE CONTRACTOR’S PREVENTION RECOMMENDATIONS
BRASS QUARTER-TURN ANGLE STOPS
Reliable fixture shutoff valves are important during plumbing emergencies.
Your preferred specification is a quality brass-bodied, quarter-turn angle stop.
These valves generally require only a 90-degree movement to close.
Older or inexpensive valves may contain plastic stems or components that become brittle or difficult to operate.
A deteriorated valve can break when excessive force is applied.
Although brass-bodied valves are generally durable, they are not indestructible.
Do not force a stuck valve with pliers. Doing so may damage the valve or attached piping.
Have defective shutoff valves replaced before an emergency occurs.
REINFORCED WATER SUPPLY CONNECTORS
Inspect the flexible water supply connectors serving toilets and sinks.
Your preferred specification is a quality, appropriately rated stainless-steel-braided supply connector.
These connectors provide mechanical reinforcement, but they are not failure-proof.
Inspect for corrosion, deterioration, leaks, improper installation, and manufacturer replacement recommendations.
A failed supply connector can release substantial water, particularly when a home is unoccupied.
KNOW YOUR MAIN SHUTOFF
Every homeowner should know where the main water shutoff is located.
Make sure it is accessible and that household members understand how to operate it safely.
CONCIERGE CONTRACTOR TIP:
The best time to discover a broken shutoff valve is during routine maintenance—not when water is flooding your home.
FINAL EMERGENCY PRINCIPLES
When water enters your home:
PROTECT PEOPLE FIRST.
Avoid electrical hazards, unstable ceilings, contaminated water, and dangerous flooding.
STOP THE SOURCE WHEN POSSIBLE.
Shut off appropriate plumbing supplies when safely accessible.
CONTROL THE WATER.
For minor, uncontaminated intrusion, use suitable containers, temporary barriers, and safe diversion methods.
MINIMIZE THE DAMAGE.
Protect belongings, document conditions, and prevent water from spreading when safe.
KNOW WHEN TO CALL A PROFESSIONAL.
Some conditions cannot be safely corrected during a storm.
PLAN FOR PREVENTION.
Once the emergency has passed, identify the actual failure and correct it before the next storm.
THE CONCIERGE CONTRACTOR
Professional Knowledge. Practical Solutions.
Helping homeowners understand the problem, take appropriate action, and find the right solution.
Additional recovery guidance
After the leak
Emergency containment is only the first step. Drying and cleanup come before restoring finishes or rebuilding damaged assemblies.
Dry and clean up
“The key to mold control is moisture control.”
EPA: A Brief Guide to Mold, Moisture and Your Home
EPA recommends drying water-damaged areas and belongings within 24–48 hours. Sewage or other contaminated-water damage calls for a professional experienced in contaminated-water cleanup. If mold contamination of HVAC is suspected, do not run the system.
“Cleaning up mold, whether from a small leak or a major flood, can present health and injury risks.”
CDC: Mold Clean Up Guidelines and Recommendations
CDC advises that people with allergies, immune suppression, underlying lung disease or chronic respiratory conditions should not participate in mold cleanup. Follow the linked guidance on protective equipment and exposure precautions.
Restore and rebuild
Keep permanent repair separate from emergency containment. Have qualified professionals identify and correct the entry point, assess damaged materials and verify drying before closing cavities or replacing finishes.
EPA cautions against painting or caulking moldy surfaces. Cleanup and drying must come first. Porous materials that become moldy may need replacement.
Document the damage and completed work. Confirm the repair scope, any required permits, manufacturer requirements and contractor responsibilities before reconstruction begins.
Explore consultingThe EPA and CDC excerpts above are supplemental guidance, not part of the six-emergency master text. Sources checked November 19, 2026. General educational information does not replace an on-site assessment or local emergency instructions.
Back to guide contents